
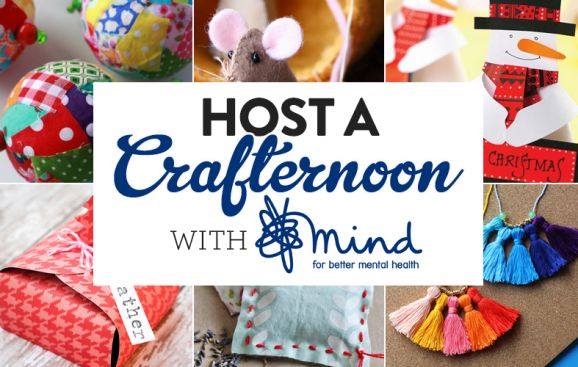
What is a Crafternoon?
A Crafternoon means getting together with friends, family or colleagues to hold an afternoon of crafting and to raise money for Mind – a fun way to help us be there for everyone with a mental health problem. Crafter’s Companion are holding a Crafternoon in their stores in Newton Aycliffe and Chesterfield on December 9th 2016. To involve as many people as possible, including those who prefer to stay at home, they are also having an online fundraiser. See their Facebook page for more details.
 Here’s the information you need to get involved with the blog hop:


- Using your patchwork ruler, cut out a simple triangle shape out of your chosen fabric…measurements can be of your choice, I wanted quite tall, slim trees so had a bottom measurement of 4 1/2″ and the triangle was 6″ tall. You need two triangles for each tree you make
- Cut a piece of string approx. 9″ long and pin this loop pointing down onto the top of one tree triangle
- Align second tree triangle on top of the first with right sides of the fabric facing together, loop sandwiched in the middle…stitch along the edge from bottom, upto point and back down other side to the bottom again. Remember to stitch a couple of reverse stitches at the start and finish of your sewing to secure the stitches
- Holding onto the string loop, turn your tree the right way around and give a light press with your iron
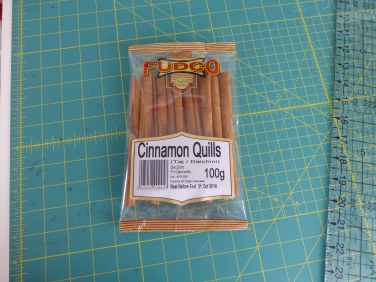
- Stuff a little toy stuffing into the point of your tree…I use a pair of forceps to push it right to the point. Then wrap a little more toy stuffing around your cinnamon stick, insert this into your tree then continue to stuff until plump!
- Fold over the raw edges on the bottom of your tree, bring these together and hold in place with pins or clips. I prefer to use the Clover wonder clips on projects like this.
- Using a needle and thread, hand stitch the bottom edges together, securing the cinnamon stick tightly at each side with a few stitches on top of each other.
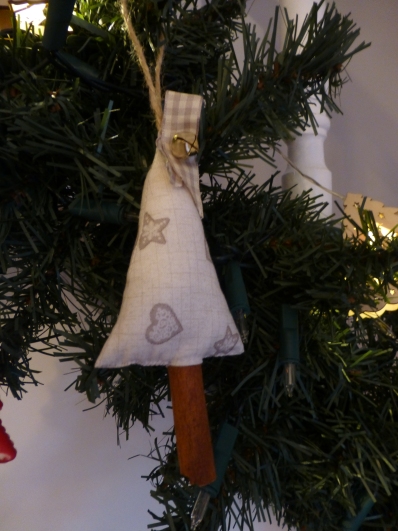
- Decorate your tree with ribbon, jingle bells or anything else you may have
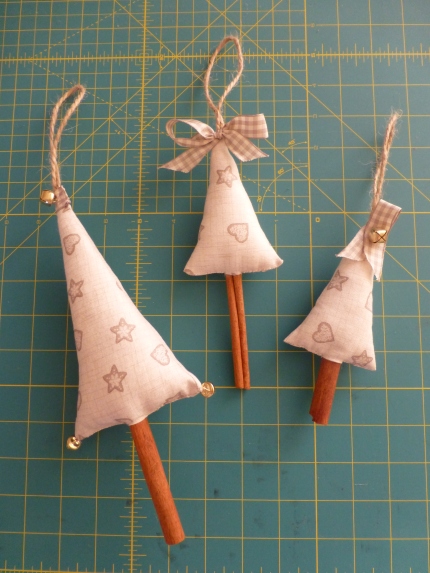
I have made these trees in different sizes and decorated them in different ways. I’m really pleased with how they have turned out and they look lovely hanging on our Nordic inspired stair garland in our dining room. Our kitten, Oreo, approves of them too!!!


I hope you enjoy making some trees of your own. If you are looking for the larger cinnamon sticks at a reasonable price, I bought mine in my local Morrisons store in the world food section for less than a pound for the bag…they smell pure Christmas!
If you’d like to see the other projects, don’t forget to visit the other blogs in the Blog Hop!
If you’d like a chance to win a prize, please remember to comment on the blog posts!
Happy crafting, x

I bet they smell gorgeous. Love cinnamon. What a lovely decoration xx
LikeLiked by 1 person
They smell very festive, x
LikeLike
Love these and thank you for sharing a little bit of your story with us too x
LikeLiked by 1 person
Thank you for taking the time to comment, x
LikeLike
Hi Nicola, your comment has been chosen as the winning comment on my blog post…congratulations! Please forward your email address so we can arrange your prize, x
LikeLike
Such a cute festive project Angela. xx
LikeLiked by 1 person
Thanks Laine, x
LikeLike
Great project so cute and festive.
LikeLiked by 1 person
Thanks Gemma, x
LikeLike
Oooh how clever! I can smell them from here! Thank you for helping to fundraise for mental health xx
LikeLiked by 1 person
Thanks for commenting. Sometimes it’s just the simple things that have maximum impact! My dining room is smelling very festive, x
LikeLike
These are so sweet Angela, and I bet they smell so Christmassy. Hugs
LikeLiked by 1 person
Thanks Janine…they smell lovely, x
LikeLike
These are gorgeous Angela
Hugs Julie xxx
LikeLiked by 1 person
Thank you Julie, x
LikeLike
Wonderful creation. X
LikeLiked by 1 person
Thank you Kelly, x
LikeLike
Wow love it..! Great idea ♥ xx
LikeLiked by 1 person
Thank you Soraya, x
LikeLike
Lovely and very traditional x
LikeLiked by 1 person
Thanks Sally, x
LikeLike
Great project! Jx
LikeLiked by 1 person
Thank you, x
LikeLike
Such a fun and different project, that I might give a try here too. I can almost smell the nice aroma from the cinnamon just by looking here ha ha ha.
LikeLiked by 1 person
Enjoy making them, they’re a lovely Christmas decoration, x
LikeLike
How cute is that!
LikeLiked by 1 person
Thank you, x
LikeLike
How cute they are!
LikeLiked by 1 person
Thank you, x
LikeLike